Table of Contents
Fat Shark Base SD integrated receiver modification
Introduction
The motivation for doing this modification came after having a chat with the author of MetkuMods who pointed out that something like this could be done and he was planning on doing it too. RC Groups also has a thread related to similar builds but none use the Fat Shark RX module.
Since I was already a little bit annoyed of carrying an additional tripod + the ground station case around (and the time it takes to set it up), I decided to order the Fat Shark receiver module designed for Attitude/Dominator goggles for around 30€ with a "how hard can it be" attitude. The assumption was that since that same module fits the similar Attitude goggles, it shouldn't be hard to fit it to Base SD goggles that have the left side totally empty. This page is a documentation of the build.
Requirements
The extra part list for this build isn't long:
- a receiver module
- a dip switch, 3 part minimum, 4 suggested for power on/off support
- some servo wires or similar
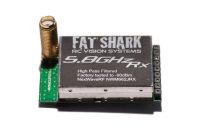
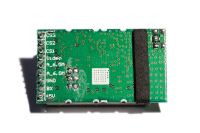
The Fat Shark 5.8 GHz module for Dominator/Attitude etc. goggles is probably the largest there is that will fit. Because of the shape of the Base SD goggles, the pins will need to all be slightly cut. The two lowest pins, "+5V" and "GND", are the ones that actually define the fit. The smudges around the middle solderings on the back side of the module were there already when I got it.
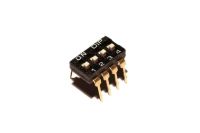
Dip switches come in at least two varieties. The one used here is the smaller version of the IC kind. All types serve the same purpose but fitting something small is obviously easier when available space is limited.
Modifications
Plastic parts
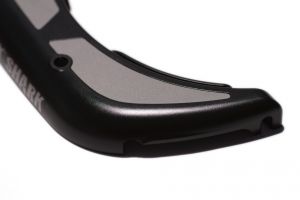
The Base SD goggles top and bottom parts are hold together by
- rubber eye inserts
- two screws, holes in the bottom
- three plastic clips on the front side
Remove the rubber eye inserts, then screws and finally carefully pry the plastic top/bottom parts apart. There are some fragile connectors inside so don't push anything inside with force.
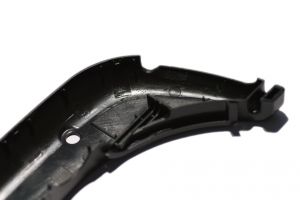
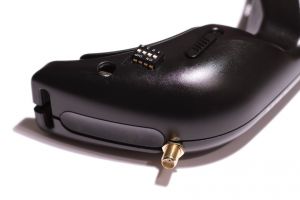
Once the parts have been separated, the bottome parts needs some modifications to fit the module and the dip switch. Start with a 7 mm drill bit and slowly drill from the bottom side where the screw hole is. This will remove the plastic pole that would otherwise block the receiver module. Note that this step may not be necessary if some other smaller module is used. Then figure out a place for the dip switch. The bottom was used in this build with holes drilled for the connector leaving the switch itself outside and usually also out of view.
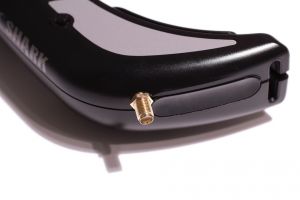
The top part needs to be carved a little bit too to fit the antenna connector of the module. The plastic is somewhat soft and using a sharp knife instead of a drill felt the best way of doing it. Test fit with the module until it looks nice.
PCB
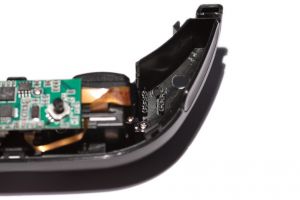
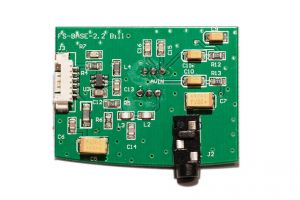
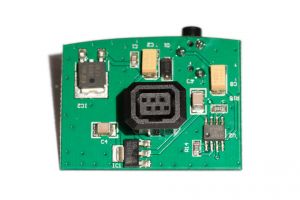
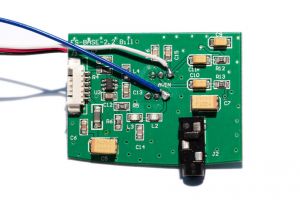
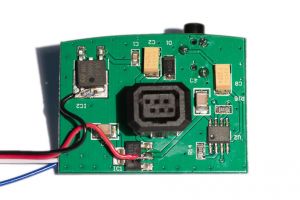
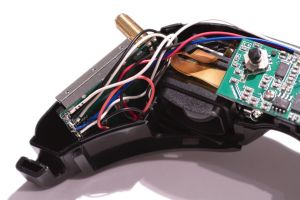
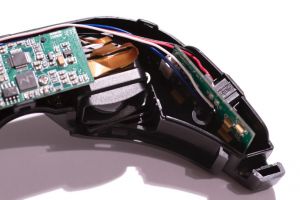
The PCB on the right hand side with the Futaba connector has the best place to insert the video and audio signal from the module and also has a regulator that provides +5V for powering the module.
- black: ground
- red: +5V
- white: audio, right channel
- blue: video
The left channel audio is one pin left from the right channel on the same row, if needed.
End result
Put/solder everything together:
- black to 1-3 of dip switch and GND of module
- red to 4 of dip switch
- another red from other side of 4 of dip switch to module +5V
- blue to Video of module
- white to A_6.5M of module
- CS1 from module to 1 of dip switch
- CS2 from module to 2 of dip switch
- CS3 from module to 3 of dip switch
Don't use force, verify that the lenses can move freely, wires don't get bitten by the plastic clips and close the goggles. Only one bottom screw can be used but it doesn't appear to affect the rigidity of the construction in any way since the rubber eye inserts are also pulling the top and bottom parts together. Remember to turn 4 of dip switch on to enable power to the module.
